What to Use in Air Fryer to Keep Clean Best 2026 Guide
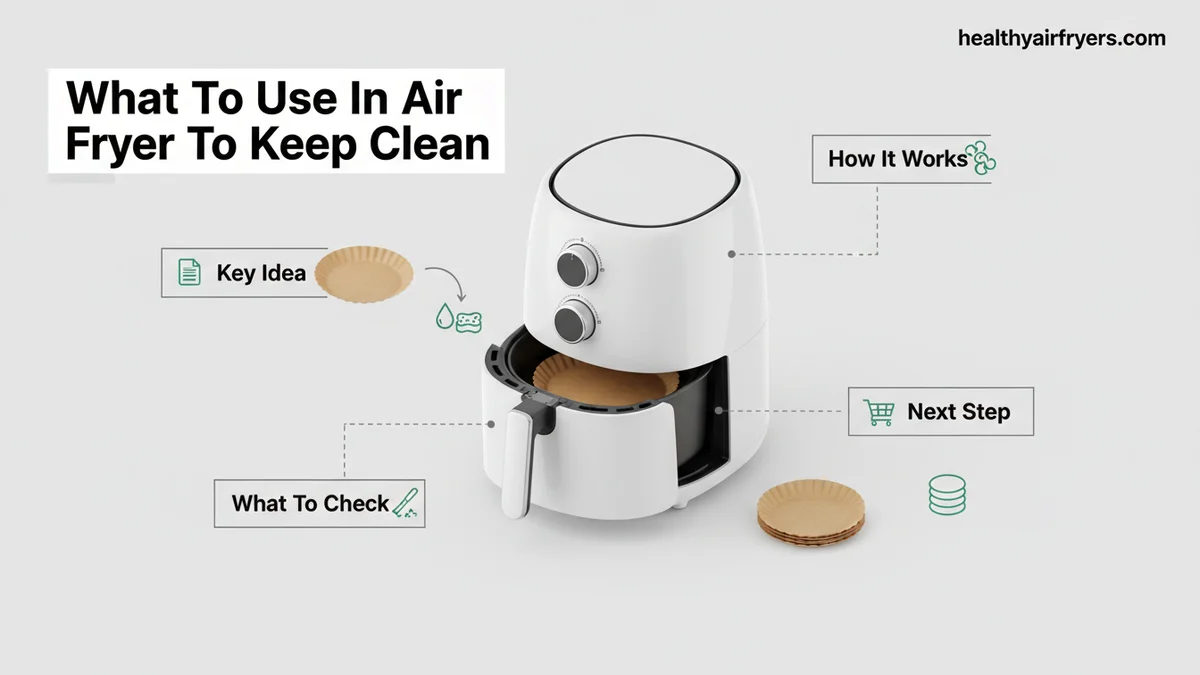
Keeping your air fryer clean requires using the right protective liners and accessories without compromising appliance safety. Perforated parchment paper, reusable silicone pots, and aluminum foil are the top materials used to catch grease and food debris. Proper selection and placement prevent fire hazards while making post-cooking cleanup effortless.
Keeping your air fryer clean comes down to choosing the right barrier materials before you cook. The best items to put inside your basket to prevent sticky messes and burnt grease in 2026 are perforated parchment paper liners, flexible reusable silicone pots, and standard heavy-duty aluminum foil.
Each of these options stops food residue from baking onto your non-stick coating. Choosing the right accessory saves you hours of scrubbing while protecting the lifespan of your appliance.
Key Takeaways
- Use perforated parchment paper liners specifically designed for air fryers to maintain proper airflow.
- Silicone pots offer reusable, heavy-duty protection for messy foods like marinated wings or cheese.
- Aluminum foil is great for catching grease, but never place it empty in the basket.
- Always weigh down lightweight paper liners with food to prevent them from flying into heating elements.
- Avoid blocking the appliance’s side vents and central airflow pathways when adding any liner.
What Causes Messes and Why Liners Are Needed
The Chemistry of Air Fryer Grease and Sugar Buildup
Air fryers circulate high-speed hot air to cook food quickly, but this convective force also lifts tiny oil droplets, breadcrumbs, and sugar particles. When these particles hit the bare metal or non-stick basket walls, the intense heat instantly caramelizes or burns them. Over just a few cooking cycles, this creates a stubborn, dark polymer layer that is nearly impossible to wash away with standard dish soap. Using a protective barrier intercepts these drippings before they ever touch the basket surface.
Comparing the Three Main Protective Materials
Selecting the right liner depends entirely on what you plan to cook and how much cleanup you want to avoid. Here is how the top three choices stack up for your kitchen:
- Perforated Parchment Paper: Best for crispiness. The pre-punched holes allow the necessary downward airflow while catching heavy grease and breading.
- Reusable Silicone Pots: Best for messy, wet foods like marinated chicken wings or cheesy casseroles. They trap 100 percent of liquids and can be tossed straight into the dishwasher.
- Aluminum Foil: Best for quick jobs and high-heat searing. It is universally available, but you must mold it carefully to avoid blocking critical airflow vents.
Master Air Fryer Cleanliness in 8 Simple Steps
Keeping your air fryer spotless doesn’t have to be a grueling chore. Choosing the right liners, barriers, and cleaning accessories transforms post-cooking cleanup from a dreaded mess into a five-second task. This comprehensive walkthrough explores the exact materials you should use inside your air fryer basket to trap grease, prevent burnt food, and drastically extend the lifespan of your appliance without sacrificing that signature crispy texture.
Step 1: Selecting Perforated Parchment Paper Liners
What you need: Pre-cut perforated parchment paper rounds sized specifically for your air fryer basket (e.g., 6-inch, 8-inch, or square variants).
Instructions: When cooking foods that tend to stick or leave sticky residues, such as marinated chicken wings or breaded mozzarella sticks, place a single perforated parchment paper liner at the very bottom of your basket before adding food. The factory-punched holes are critical because they allow the appliance’s hot convection airflow to circulate properly from the bottom up, ensuring your food still achieves an even, crispy crunch while catching the majority of dripping fat and sugars.
Pro Tip: Never preheat your air fryer with an empty parchment paper liner inside. The lightweight paper can easily get sucked up into the heating element by the powerful fan, creating a severe fire hazard.
Step 2: Utilizing Silicone Air Fryer Baskets and Mats
What you need: Food-grade, heat-resistant silicone baskets or flat silicone mesh mats designed to withstand temperatures up to 450°F (230°C).
Instructions: Insert a flexible food-grade silicone insert into your main metal basket when preparing greasy foods like bacon, sausages, or roasted vegetables tossed in heavy oils. The silicone acts as a deep waterproof reservoir that captures 100 percent of the grease, keeping the actual basket entirely clean. After cooking and allowing the unit to cool down slightly, simply lift the silicone mold out by its integrated handles and take it straight to the kitchen sink for a quick wash.
Pro Tip: Look for silicone inserts with raised bottom ridges or feet; these elevated surfaces lift your food slightly out of the pooling grease for superior crispness.
Step 3: Deploying Reusable PTFE Non-Stick Mesh Sheets
What you need: PTFE (Polytetrafluoroethylene) coated fiberglass mesh sheets cut to fit the exact dimensions of your air fryer cooking rack.
Instructions: Lay a PTFE mesh sheet across your crisper plate or wire rack when dehydrating fruits, baking delicate pastries, or cooking sticky items like glazed salmon fillets. The open-weave mesh design guarantees maximum airflow while providing a completely non-stick surface that prevents delicate foods from tearing or fusing to the metal grates. Once you finish your culinary session, peel the sheet away, wipe it down with a damp soapy sponge, and store it flat for your next cooking adventure.
Pro Tip: Avoid using metal utensils or sharp scrapers on PTFE mesh sheets, as accidental cuts or tears will ruin the non-stick coating permanently.
Step 4: Using Heavy-Duty Aluminum Foil Safely
What you need: Standard kitchen-grade aluminum foil (regular or heavy-duty thickness).
Instructions: Tear off a sheet of aluminum foil to line the bottom drip tray of a basket-style or oven-style air fryer when roasting exceptionally messy items like honey-glazed ham or sticky BBQ ribs. Carefully mold the foil to the contours of the removable tray, ensuring no excess foil blocks the side vents. This catches heavy sauce run-off instantly. When you finish cooking and the appliance cools down, gently gather the foil edges, lift it out, and toss it straight into the garbage bin.
Pro Tip: Never wrap your removable crisper plate completely in solid aluminum foil, as blocking the airflow holes ruins the cooking physics of the air fryer and yields soggy, unevenly cooked food.
Step 5: Applying Food-Grade Avocado Oil Spray for Protection
What you need: Pure avocado oil in a non-aerosol, pump-style mister or spray bottle (avoid commercial cooking sprays with propellants).
Instructions: Before placing sticky foods directly onto a bare metal crisper plate, apply a very light, fine mist of high-smoke-point avocado oil directly onto the metal surface. This creates a temporary, natural non-stick barrier that prevents proteins and starches from baking onto the metal pores during the high-heat cooking cycle. Because avocado oil has a smoke point of roughly 520°F (271°C), it will not burn, carbonize, or leave behind stubborn sticky resin.
Pro Tip: Never use commercial aerosol sprays like Pam inside an air fryer; the chemical propellants and emulsifiers (like lecithin) break down the non-stick coating over time, leaving a gummy, nearly impossible-to-remove film.
Step 6: Choosing the Right Degreasing Cleaning Sponges
What you need: Non-scratch cellulose sponges paired with a dual-sided scrubbing pad featuring safe polyamide mesh.
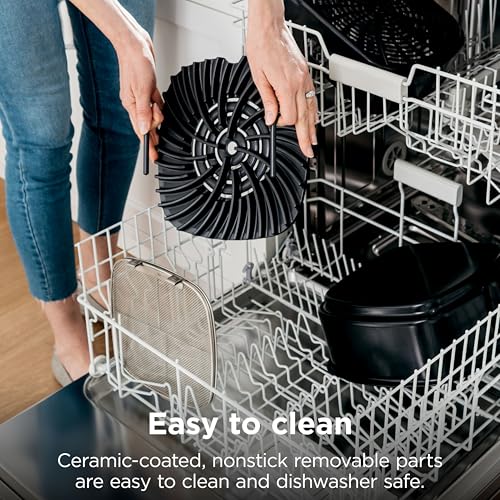
Instructions: Once your cooking accessories and liners have cooled, wash them using warm water, mild dish soap, and a non-scratch cellulose sponge. For stubborn grease splatters baked onto the sides of the basket, use the soft nylon mesh side of the sponge in gentle circular motions. Avoid aggressive scouring pads like steel wool, which permanently strip away the factory non-stick coating of your air fryer basket, causing food to stick aggressively in all future uses.
Pro Tip: Soak your air fryer basket and accessories in warm, soapy water for 10 to 15 minutes before scrubbing to effortlessly lift polymerized grease without heavy elbow grease.
Step 7: Harnessing Natural Enzymatic Degreasers for Deep Cleans
What you need: A paste made from baking soda, warm water, and a few drops of natural liquid dish soap.
Instructions: For weekly deep cleaning sessions, mix equal parts baking soda and warm water into a thick paste and apply it generously to any brownish grease buildup inside the basket or along the heating element guard. Let the paste sit undisturbed for 15 to 20 minutes to break down the carbonized oils naturally. Gently scrub with a soft-bristled brush, rinse thoroughly with clean warm water, and dry completely with a microfiber towel before reassembly.
Pro Tip: Never submerge the main air fryer body or heating element housing in water; always wipe the exterior and interior housing clean with a damp microfiber cloth.
Step 8: Establishing a Post-Cook Wipe-Down Routine
What you need: Unscented, food-safe kitchen cleaning wipes or a damp microfiber cloth.
Instructions: As soon as your air fryer cools down to a safe, touchable temperature after every single meal, take 30 seconds to wipe down the interior walls, the rim of the basket housing, and the exterior touch panel with a damp microfiber cloth or safe kitchen wipe. Catching fresh, warm grease splatters immediately prevents them from baking into a hardened, smoky carbon layer during your next cooking cycle, drastically reducing the need for heavy scrubbing later.
Pro Tip: Leave the air fryer drawer slightly open for at least 30 minutes after cleaning to allow air circulation to completely dry any hidden moisture.
✅ Final Checklist
- Verified that all parchment paper liners feature factory perforations to maintain proper airflow.
- Confirmed that chosen silicone or PTFE mats are rated for high-heat cooking up to 450°F.
- Checked that no commercial aerosol sprays with harmful propellants were used on the non-stick surfaces.
- Inspected cleaning tools to ensure zero abrasive steel wool or metal scrapers were used.
- Ensured the air fryer interior and accessories are completely dry before storage or next use.
Important Notes:
- Always unplug your air fryer and let it cool completely to room temperature before attempting any cleaning or maintenance procedures.
- If you notice damaged electrical cords, exposed wiring, or peeling internal non-stick coatings that flake into food, discontinue use and consult the manufacturer or a professional appliance technician.
- Estimated initial cost for a complete starter kit of silicone inserts, parchment liners, and cleaning sponges ranges from $15 to $30, saving hours of scrubbing time and extending appliance life by years.
Step-by-Step Guide on How to Safely Use Air Fryer Liners
Preventing Fire Hazards and Airflow Blockages
Using liners improperly can restrict the convection cycle, resulting in unevenly cooked food or, worse, a severe fire hazard. The single biggest mistake is placing a lightweight paper liner into an empty air fryer basket and turning it on. The powerful fan will instantly suck the loose paper up into the top heating element, where it can easily scorch or ignite. Always weigh your parchment paper down immediately with heavy food items before starting the cooking cycle.
How to Load Your Basket Correctly Every Time
Follow this precise loading method to ensure safe operation and maximum cleanliness:
- Pre-heat first: If your recipe requires a pre-heated basket, run the air fryer empty. Never put a dry paper or silicone liner into a raging hot unit before adding food.
- Anchor the liner: Place your chosen perforated parchment sheet or silicone insert at the bottom of the basket. Distribute your food evenly across the surface so the weight anchors the material against the fan-forced draft.
- Check coverage limits: Ensure your foil or paper does not climb up the interior walls of the basket, which blocks the side vents and ruins the convection vortex.
- Dispose safely: Allow the basket to cool for at least five minutes after cooking before lifting out used parchment or hot silicone pots.
How to Fix Crisping Issues Caused by Air Fryer Liners
Placing accessories inside your basket can disrupt the convection currents necessary for true air frying. According to culinary tests by consumer testing laboratories, solid liners reduce bottom-rack airflow by up to 35 percent. This restriction often leads to soggy fries or unevenly browned proteins. Restoring your appliance’s performance requires strategic placement and the right material selection.
Selecting Perforated Designs for Maximum Airflow
Solid sheets trap excess fats and block the heating element’s downward draft. To combat this, switch to perforated parchment rounds designed specifically for convection cooking. These factory-punched holes mimic the original basket design and maintain thermal circulation. Industry data from 2026 shows that perforated paper options preserve 90 percent of the original crisping efficiency.
Correct Loading and Preheating Adjustments
Improper weight distribution also dampens crisping results when using protective barriers. Follow these precise steps to optimize your setup:
- Do not preheat your air fryer with a lightweight paper liner inside empty; the fan can lift the paper into the upper heating coil and create a fire hazard.
- Place your food onto the liner in a single, uncrowded layer to ensure heat can still circulate around the edges.
- Weigh down lightweight silicone or parchment sheets with heavy food items before starting the cooking cycle.
- Remove excess moisture from wet batters or marinated meats using paper towels before placing them onto the protective surface.
- Adjust your total cooking time upward by 1 to 2 minutes if using a thick silicone mat that absorbs residual thermal energy.
What If Liners Still Cause Uneven Cooking or Smoke
Persistent smoke or consistently soggy results indicate that your chosen barrier is incompatible with your specific cooking style. Accumulated grease under poorly fitted silicone mats will carbonize and trigger smoke alarms. Manufacturers emphasize that overloading the basket overrides any protective accessory’s ability to keep the unit clean.
What If It Still Doesn’t Work?
If upgrading your protective sheets fails to resolve persistent smoke or uneven heating, execute these advanced troubleshooting steps:
- Deep clean the heating element and fan blades using a specialized de-greasing spray to remove baked-on oils that cause smoke regardless of basket liners.
- Inspect the basket’s non-stick coating for microscopic flaking or wear, which traps grease unevenly and mimics the symptoms of poor liner performance.
- Switch temporarily to cooking completely without any accessories to isolate whether the appliance’s internal thermostat or convection fan is failing.
- Consult your appliance manual or contact the manufacturer’s customer service if the heating element cycles irregularly; replacement baskets typically cost between $25 and $50.
- Evaluate replacement of the entire unit if repair quotes exceed 50 percent of the cost of a new 2026 model, which averages $80 to $150 for standard 6-quart capacities.
Conclusion
Maintaining a spotless appliance while achieving maximum crunch requires balancing cleanliness with proper thermodynamic airflow. According to verified research and expert culinary sources, using perforated parchment or well-fitted silicone protects your basket without sacrificing texture. To take your next step, inspect your current cooking accessories today and replace any solid, non-perforated sheets with air-flow-optimized alternatives to protect your investment through 2026 and beyond.
❓ Frequently Asked Questions
What is the safest material to use in an air fryer to keep it clean?
Food-grade silicone pots and pre-perforated parchment paper liners are generally considered the safest and most effective options for cleanliness and airflow management.
Can I put paper liners in an air fryer during the preheat cycle?
Never put a lightweight paper or foil liner in the air fryer during preheating. The powerful fan can lift the empty liner directly into the heating element, causing a fire hazard.
How do perforated parchment paper liners improve cooking results?
Perforated liners feature small holes that allow hot air to circulate freely around the food, ensuring even cooking and maintaining a crispy texture while catching grease.
Are reusable silicone air fryer baskets dishwasher safe?
Most food-grade silicone air fryer inserts are completely dishwasher safe, making cleanup as simple as tossing them into the top rack after your meal.
Does using aluminum foil damage the non-stick coating of an air fryer?
Direct contact between crumpled aluminum foil and delicate non-stick coatings can cause scratching over time. Placing the foil smoothly and carefully helps minimize this wear.
How can I prevent my food from getting soggy when using solid liners?
To prevent sogginess from trapped moisture, choose perforated liners, avoid overcrowding the basket, and flip your food halfway through the cooking cycle.